Climbing Mount Fuji at Night:
My Honest Summit Experience & Tips
I'm not an experienced climber — and I made it to the summit. Here's everything that happened, everything I did wrong, and everything you need to know to do it better than I did.
🛬 Arrival in Japan & Journey to Tokyo
Our adventure started at Tokyo Narita Airport. We traveled to Shinjuku Station using the N'EX Tokyo Round Trip Ticket — around 90 minutes, smooth and comfortable. What I really liked: the ticket is valid for the return journey within 14 days, so after a long flight you don't have to think about the trip back to the airport.
Buy the N'EX Round Trip ticket at the airport before you exit the arrivals hall. It's cheaper than buying a one-way ticket each time and valid on the Narita Express both ways. More info here →
🏙 First Night in Shinjuku
We stayed at APA Hotel Higashi Shinjuku Kabukicho, about a 6-minute walk from Shinjuku Station — perfect location. The room was small as expected in Tokyo, but clean and well-maintained. We were on the top floor and had no noise issues despite some negative reviews about this online.
One thing to note: there is only one elevator, which caused some waiting times during busy hours. Overall though, I'd stay here again.
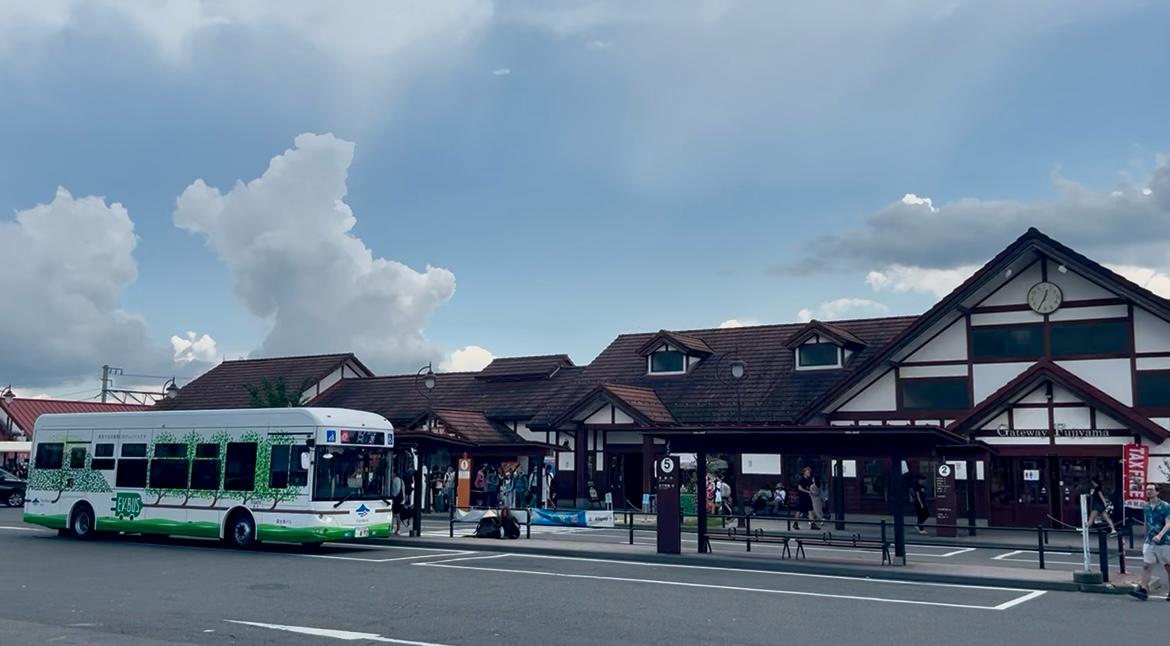
🚌 Travel to Kawaguchiko & the 5th Station
On day two, we left Shinjuku around 10:00 AM via the JR Chuo Line to Kawaguchiko (~1h 55min). From there, we took the Fujikyubus to Fuji Subaru Line 5th Station — another 50 minutes.
We arrived at the 5th Station around 2:00 PM. The atmosphere immediately felt different — colder, windier, mountain-like. There's a restaurant called Unjo-Kaku where you can eat a warm bowl of ramen before the climb. I strongly recommend doing this.
Spend at least 1 hour at the 5th station before you start climbing. At 2,305 m the air is already thin. Eating, resting and walking around slowly helps your body adjust and reduces the risk of altitude sickness higher up.
🎫 Climbing Registration & the Gate
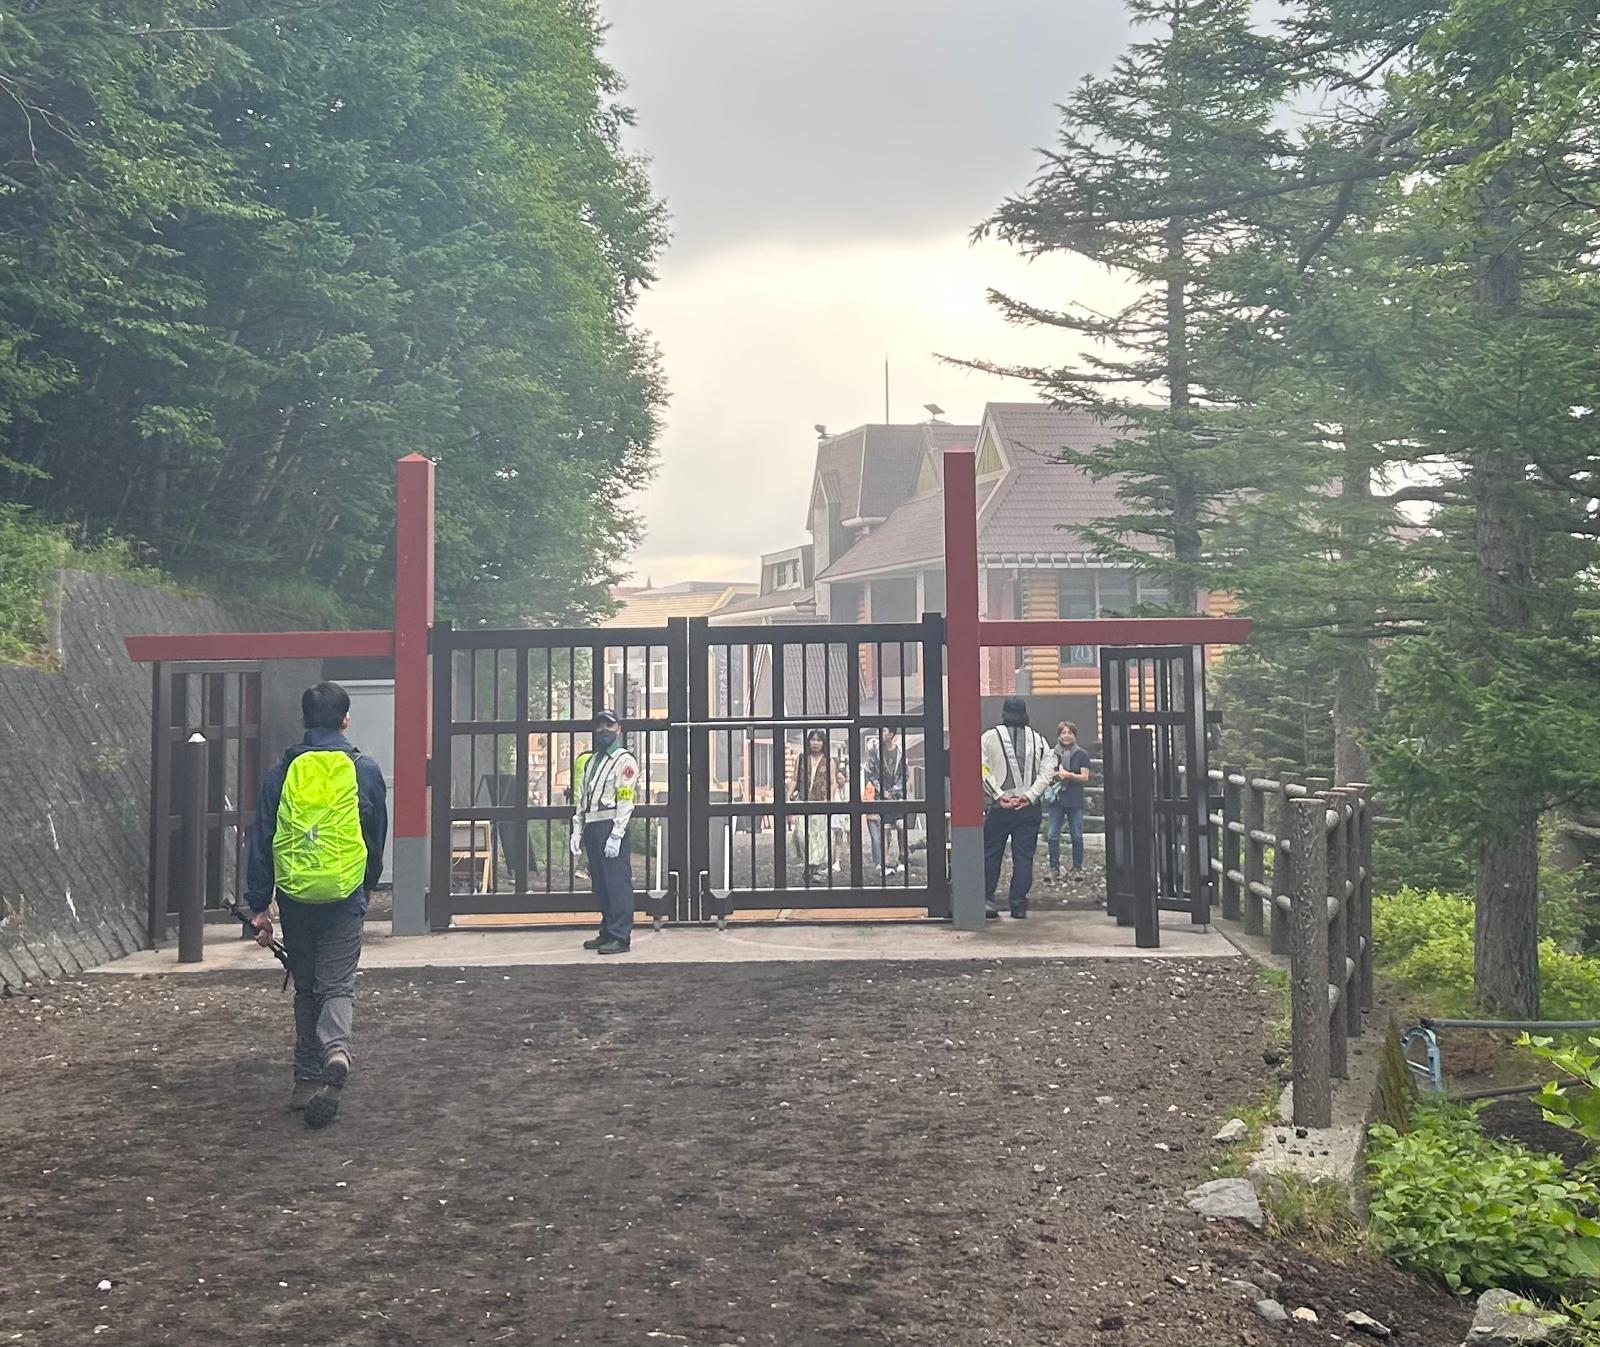
Before starting the climb, we went to the General Administration Information Center to show our climbing tickets. You receive a purple wristband — proof that you've paid the ¥4,000 entrance fee and have a valid hut reservation. Without it, you cannot pass the gate after 2:00 PM.
Security staff at the gate also check your clothing and gear. If you're not properly equipped, you may be turned back. Don't underestimate this check.
Since 2024, a mountain hut reservation is required to pass the gate after 2:00 PM. Book your hut early — they sell out within days of reservations opening.
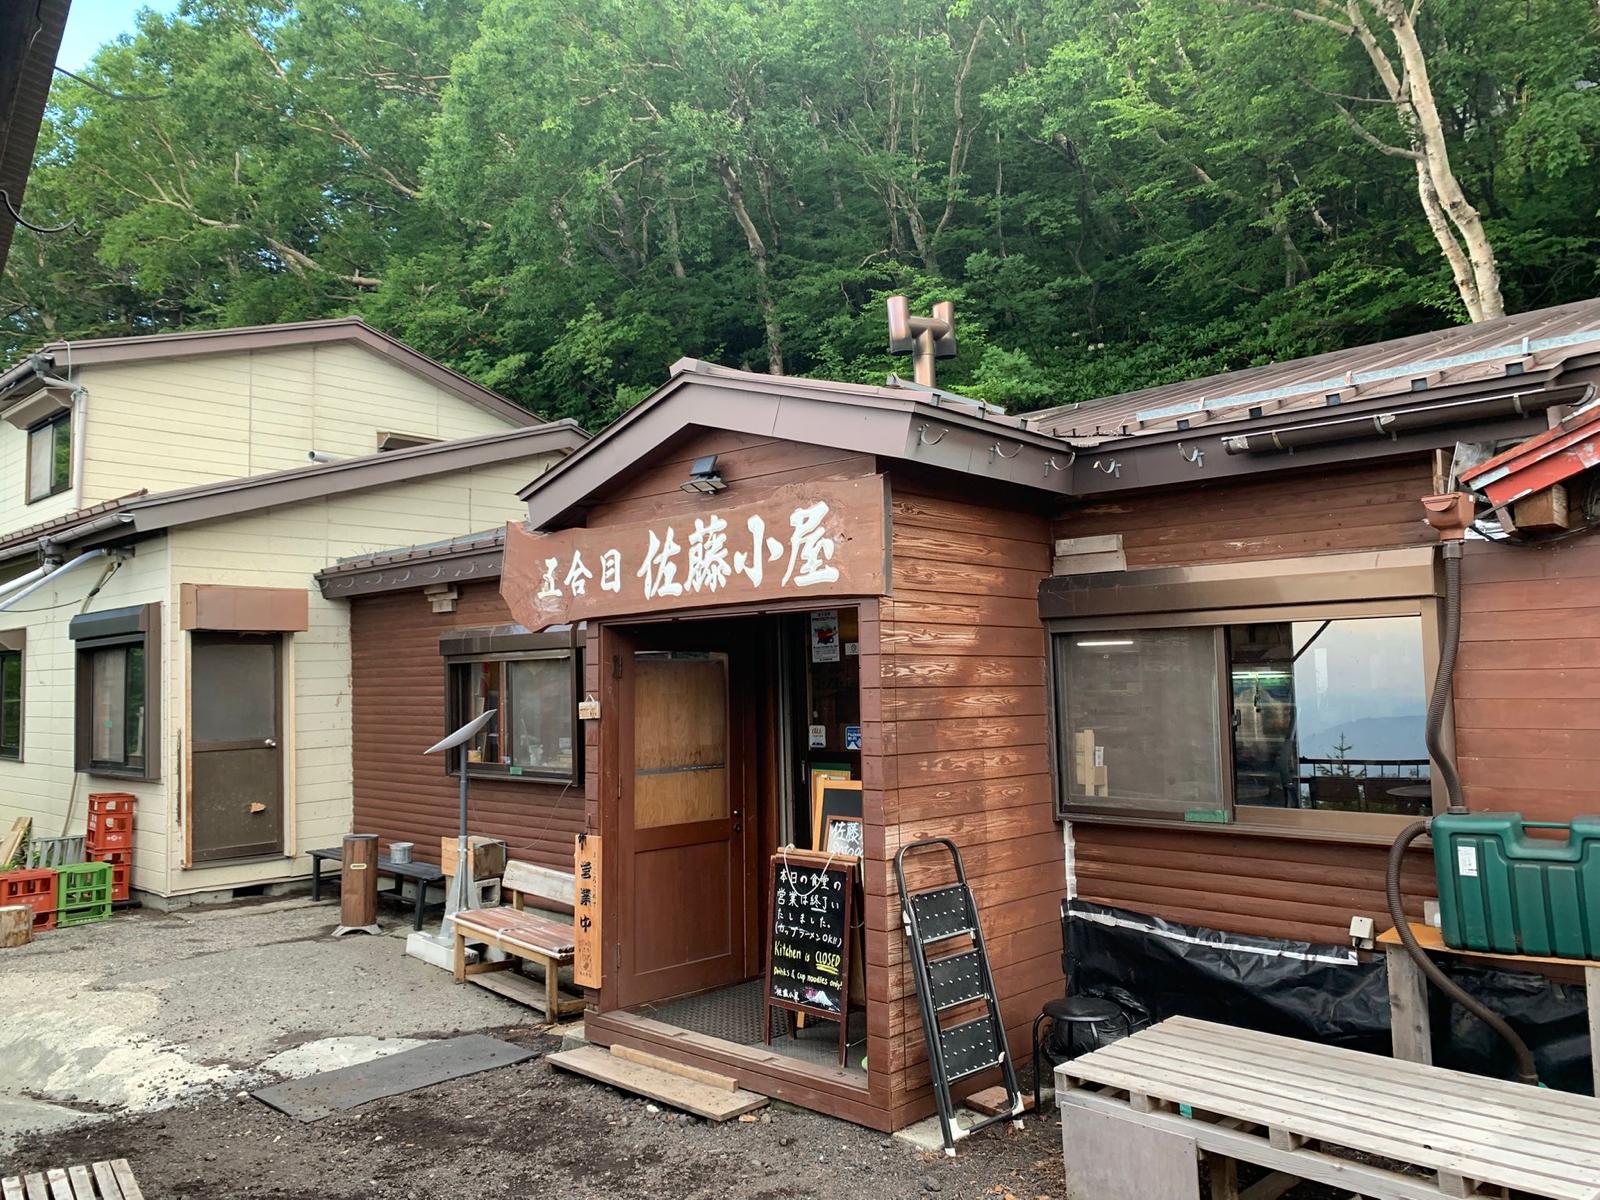
🛏 Overnight at Sato-Goya Hut
We'd booked Sato-Goya hut, about 30 minutes from the gate, still at the 5th station. The owner was incredibly warm and welcoming. We joined dinner (curry rice — delicious after a long travel day) and took a short nap before the night climb.
There are no mattresses — you get blankets and a sleeping bag on a futon. It wasn't the most comfortable sleep of my life, but it was enough to rest before the real challenge.
🌑 The Night Climb: Stations 6 to 8
Around 9:00 PM we started climbing. It was pitch black. A headlamp is not optional — it is essential. I cannot stress this enough.
Halfway up my main headlamp died. I had a backup — and it saved the climb. Bring a spare headlamp or at least a full set of fresh batteries. Don't rely on your phone torch.

😶🌫️ Altitude Sickness at the 8th Station
At the 8th station I started feeling genuinely unwell. Nausea, dizziness, a heavy head. Only later did I realize this was altitude sickness. And then I looked at the sign: still 3 hours to the top.
"Mentally, that was the hardest moment of the whole climb. My body wanted to stop, but my brain knew why I was there. I sat down, drank water, breathed slowly — and kept going."
— My experience at the 8th Station, around midnightRest for 10–15 minutes. Drink water slowly. Breathe deeply. Don't rush upward. If symptoms worsen, descend — altitude sickness can become serious. Consider bringing altitude sickness tablets (Diamox) — consult a doctor before your trip.
🌅 Reaching the Summit at Sunrise
At 4:00 AM we reached the summit of Mount Fuji. Despite the exhaustion, altitude sickness, and the mental battles in the dark — standing at 3,776 m watching the sun rise over Japan made every single step worth it.
We were lucky with perfectly clear weather. The sky turned from deep navy to orange to gold, and the clouds below us glowed. There are small souvenir shops at the top — I bought a commemorative stamp for my passport which is a lovely keepsake.
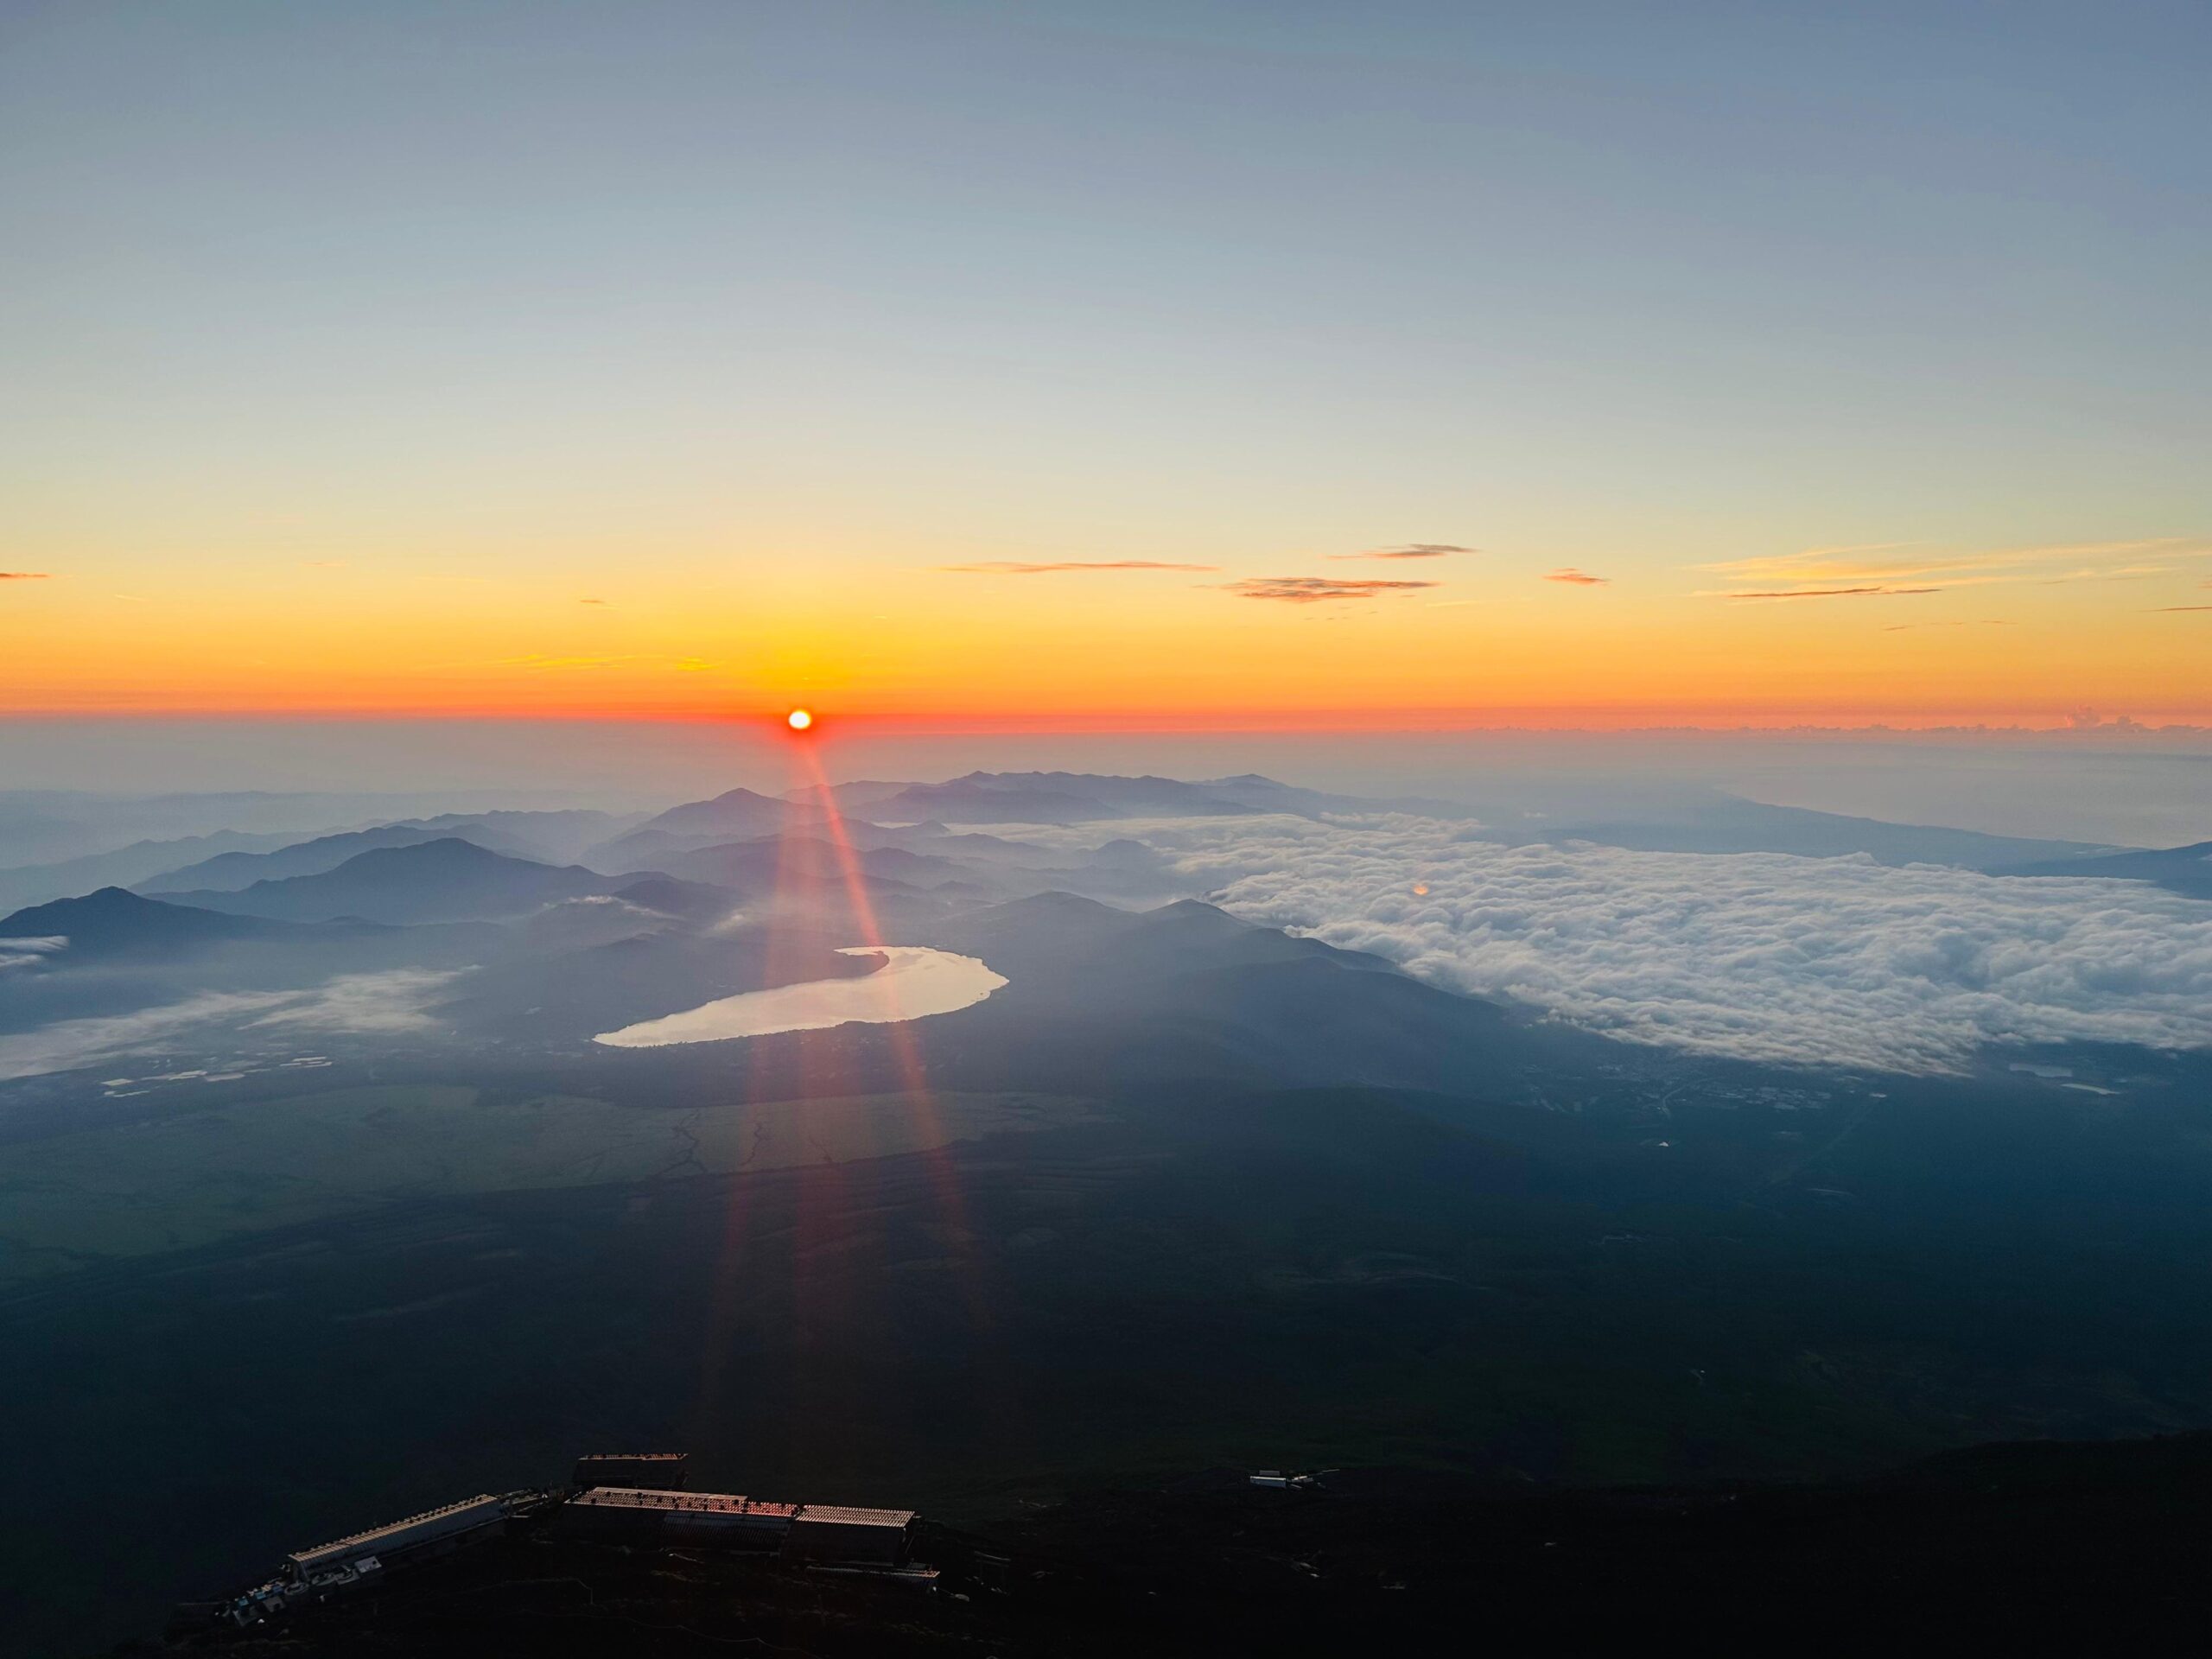
"The incredible sunrise above the clouds made every step, every ache, and every moment of doubt completely worth it. I will never forget that view."
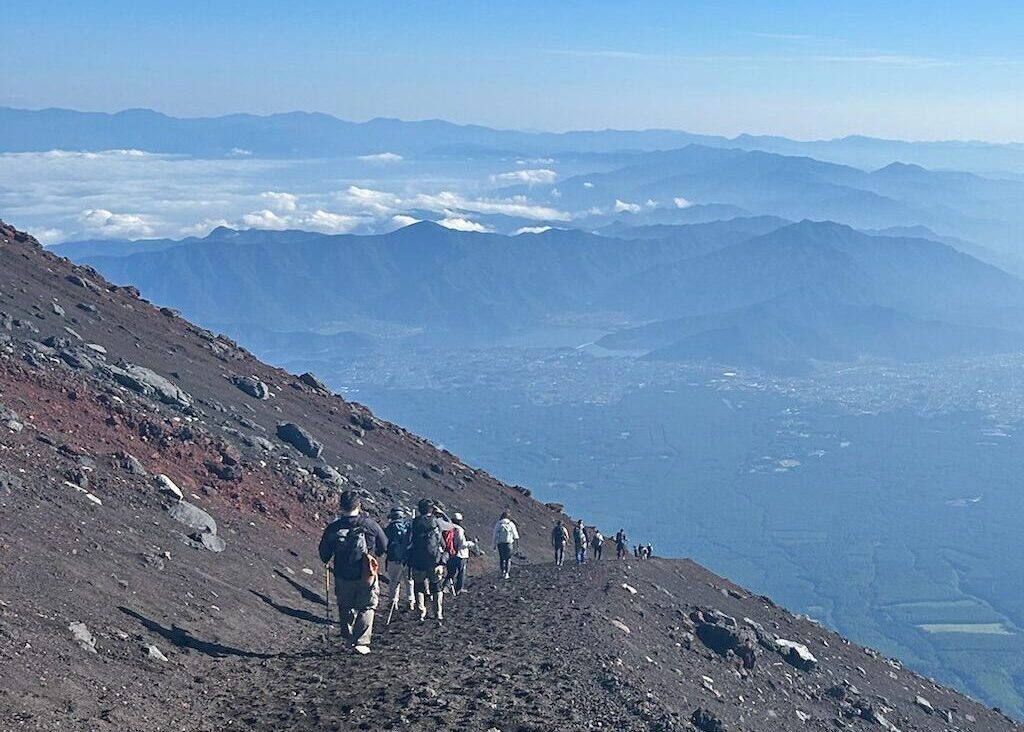
🥵 The Long and Exhausting Descent
After sunrise, we began descending. Less physically demanding — but we were already completely exhausted. The ground is loose sand and gravel. Be very careful: it's easy to slip. A hiking pole is essential here too.
Toilets on the descent are scarce — roughly every 1.5 to 2 hours. Plan accordingly. After about 4 hours of descending we finally reached the information center again. Here you can pick up a small wooden commemorative gift as a souvenir of your climb — a lovely surprise after everything.
Many climbers underestimate the descent. After a full night of climbing your legs are already tired, and the loose gravel makes every step unpredictable. Take it slow, plant your pole before each step on steep sections, and stop to rest if needed.
✅ My Honest Tips for Beginners
I am not an experienced climber. I struggled. I got altitude sickness. I had to have my boyfriend carry my bag for a while. And I still made it. Here's what I wish I'd known before I started:
Gear checklist — what I brought and what I recommend
| Item | Priority | My experience |
|---|---|---|
| Headlamp (main) | Must-have | My main one ran out — bring spare batteries |
| Backup headlamp or batteries | Must-have | Saved my climb — don't skip this |
| Foldable hiking pole | Must-have | Essential on rocks and loose gravel descent |
| Waterproof jacket | Must-have | Wind and rain can hit at any time above 3,000 m |
| Thermal base layer | Must-have | Summit temperature around 4–8°C in July |
| Snacks & water (2L+) | Must-have | Huts sell drinks but at high prices |
| Japanese yen cash | Must-have | No card payments anywhere on the mountain |
| Ear plugs | Nice to have | Huts wake everyone at 1–2 AM — it's noisy |
| Altitude sickness tablets | Nice to have | Consult a doctor before your trip |
| Wet wipes & hand sanitiser | Nice to have | No showers, basic toilets — you'll want these |
Plan your own climb
Ready to plan your night climb?
Reservations for the 2026 season are open. Book your mountain hut before they sell out.
Find a mountain hut → Gear & preparation →